

In this blog post, we'll show you the highlights of the Simplified dimension editor in NetSuite Planning and Budgeting Cloud (NSPB/PBCS). This is where you can manage dimensions, members, and member properties.
Editing Dimension Properties
- Access the dimension editor from Navigator > Application > Overview.
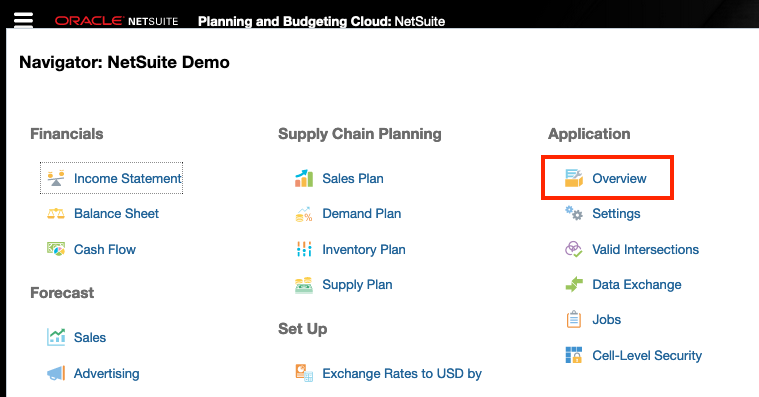
2. Go to Dimensions tab and click on any of the dimensions to view and edit. In this blog post, we'll look at Account dimension.
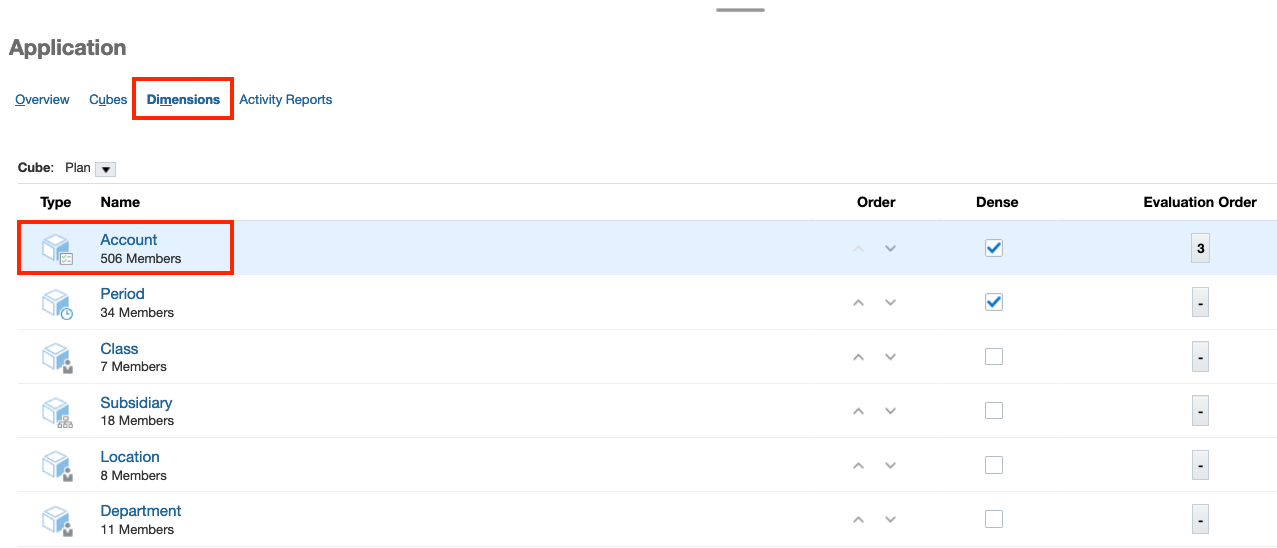
3. Select Edit Dimension Properties tab to see see an overview of the dimension and its properties.
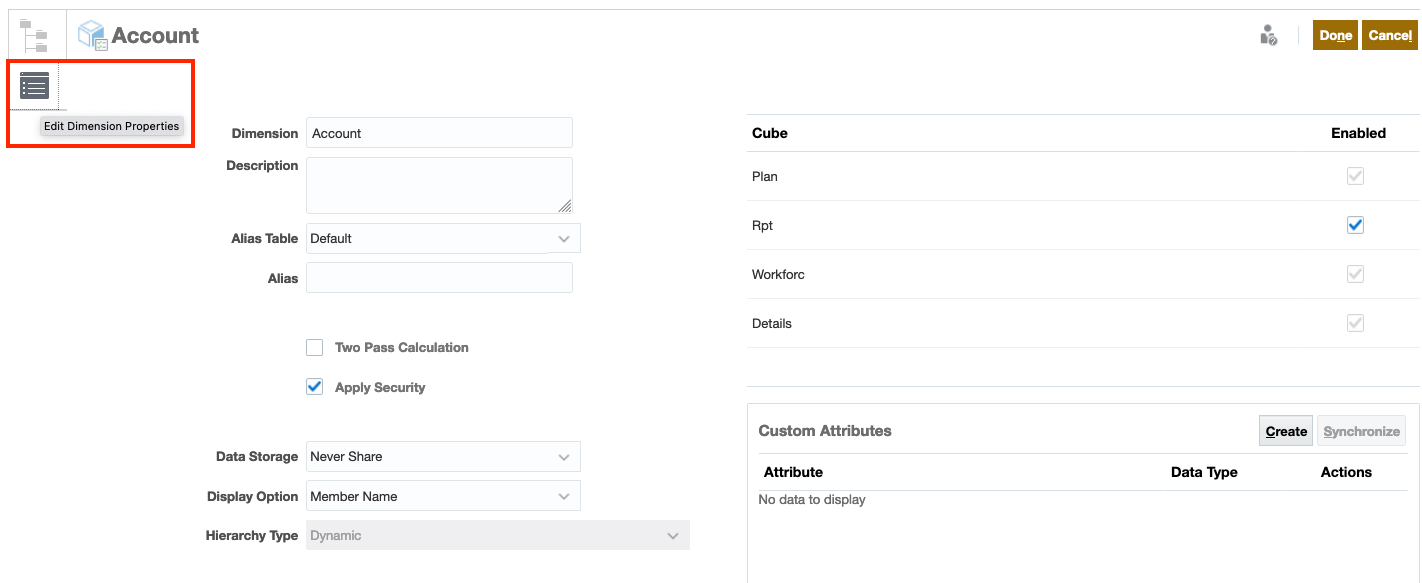
4. You can modify the following properties:
- Dimension: Enter a unique name or use the default name.
- Description: Enter a description or any useful information about the selected dimension.
- Alias Table and Alias: Select an alias table and enter an alternate name for the dimension.
- Two Pass Calculation: Check this option to recalculate values of members based on values of parent members or other members.
- Apply Security: Check this option to allow security to be set on the dimension members. If left unchecked, users can access dimension members without restriction.
- Data Storage: Select a data storage option; the default is Never Share.
- Display Option: Select a display option, i.e. Member Name or Alias or a combination of both.
- Hierarchy Type: Available for dimensions bound to an aggregate storage cube.
- Cube: Select the cube(s) for which the dimension is enabled.
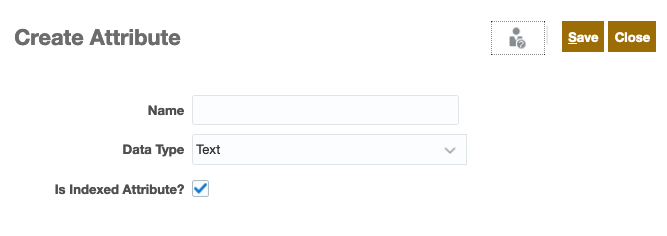
- Custom Attributes: Click Create (a new attribute) or Synchronize (custom attributes for a dimension). To create a new attribute, enter the attribute name, select a data type, and select whether to index the attribute. Click Save.
5. Click Done once you've finished setting up the dimension properties.
Editing Member Properties
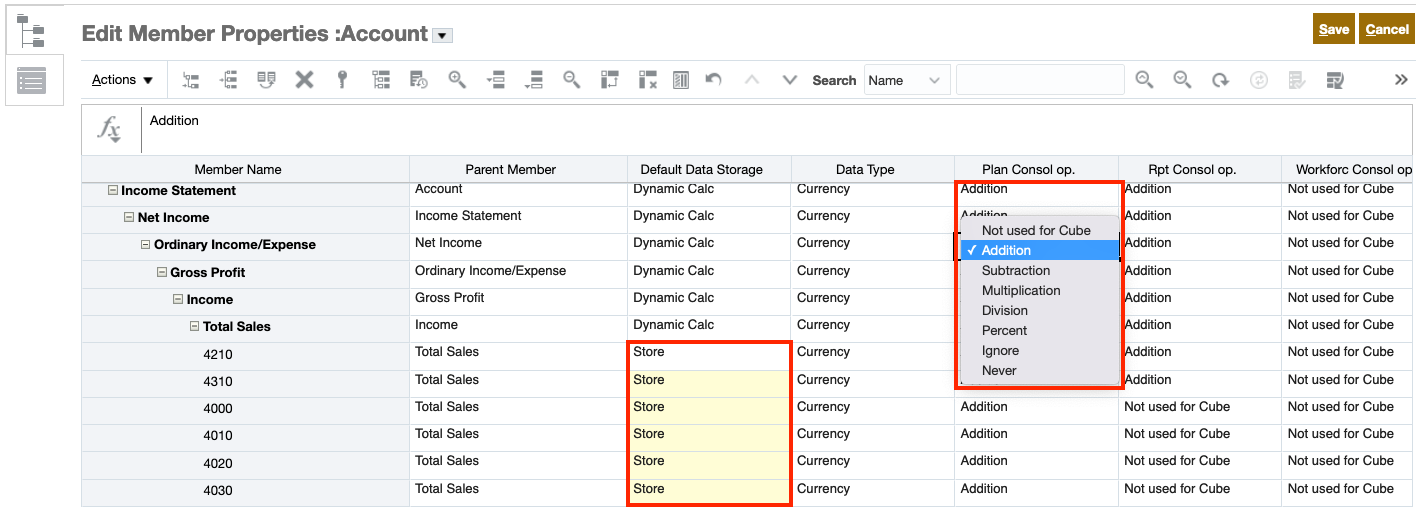
1. You can choose Edit Member Properties tab to make changes to dimension members. The horizontal or vertical Actions menu allows you to perform various editing tasks on each member.

2. Each row in the Simplified dimension editor represents a member and each column represents a member property. Click within a grid cell to edit text or to view a drop-down menu from which you can choose member properties. You can also drag member property values over to other rows or columns that have the same properties.
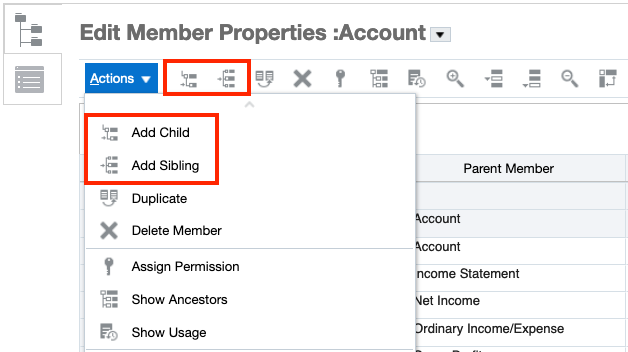
3. To add a new member to a dimension, you can use the horizontal or vertical Actions menu.
- To add a child member: select a parent level member > Actions > Add Child.
- To add a sibling member: select a member > Actions > Add Sibling.
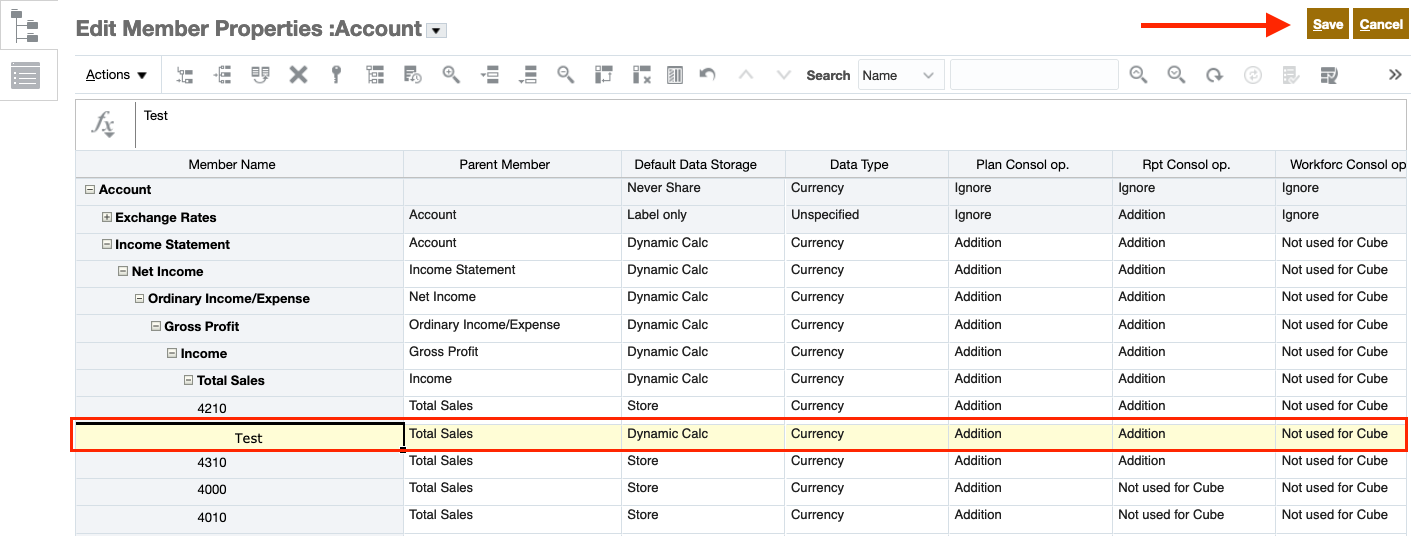
Select the number of members to add, enter member name and select appropriate member properties. The new member will be highlighted in yellow. Click Save to apply your changes.
Note: Other actions that you can take in Edit Member Properties:
- Move a member in the hierarchy by changing its parent member.
- Duplicate a member; the new member will take the same properties as the original member.
- Delete a member; all decendants for that member will also be deleted.
- Zoom In and Zoom Out of a member to view its descendants or ancestors.
- Keep Selected and Removed Selected to view only that member or to exclude only that member from the dimension editor interface.
- Search a member in the hierarchy.
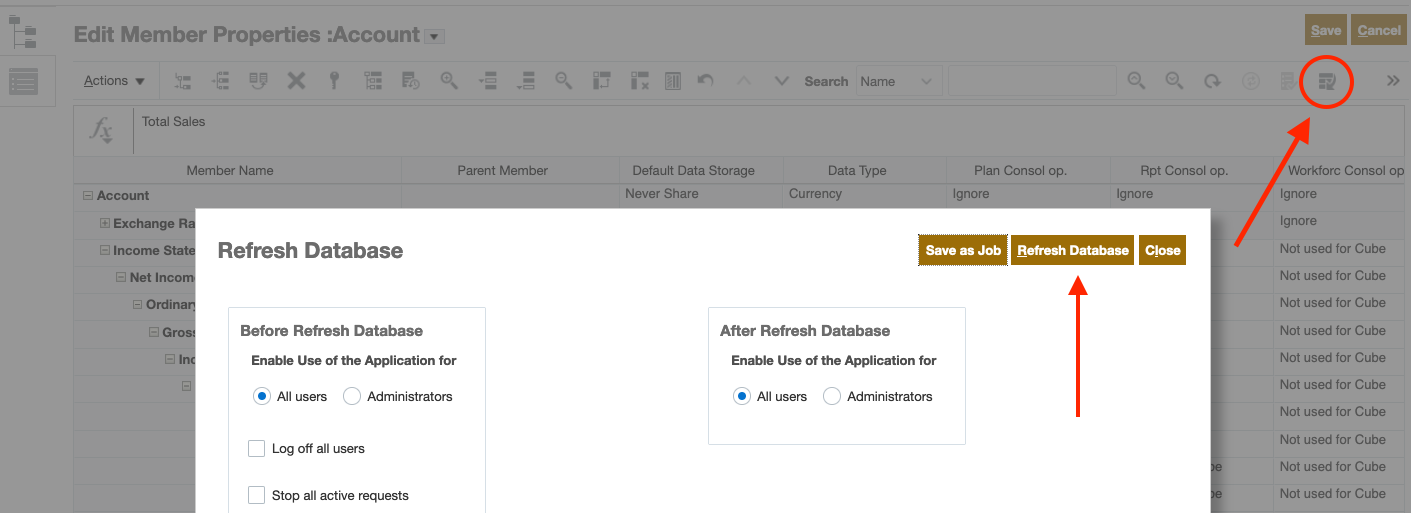
4. Finally, you must Refresh Database after changing the metadata structure, and modifying artifacts such as dimensions and members.
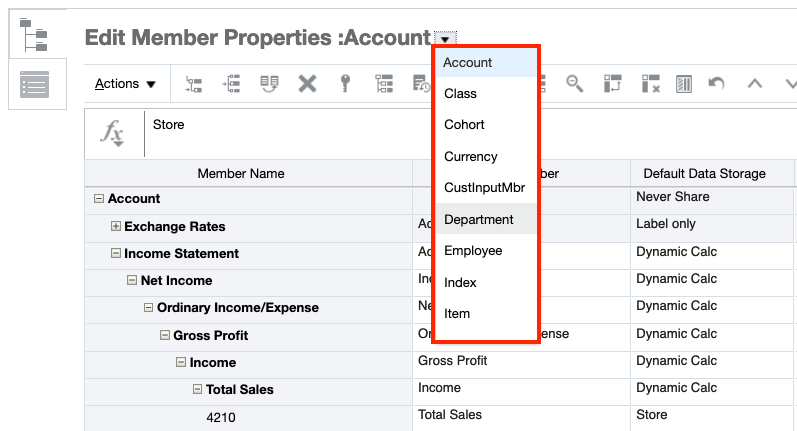
5. To switch to another Dimension, in Edit Member Properties window, click the drop-down menu next to the dimension name and select another dimension.
Want to Learn More?
If you would like a free consultation please contact Gerard at Redhill Business Analytics via email or the contact form below.